I modified an Ikea LED light with some colour changing LEDs while reusing the original power supply.
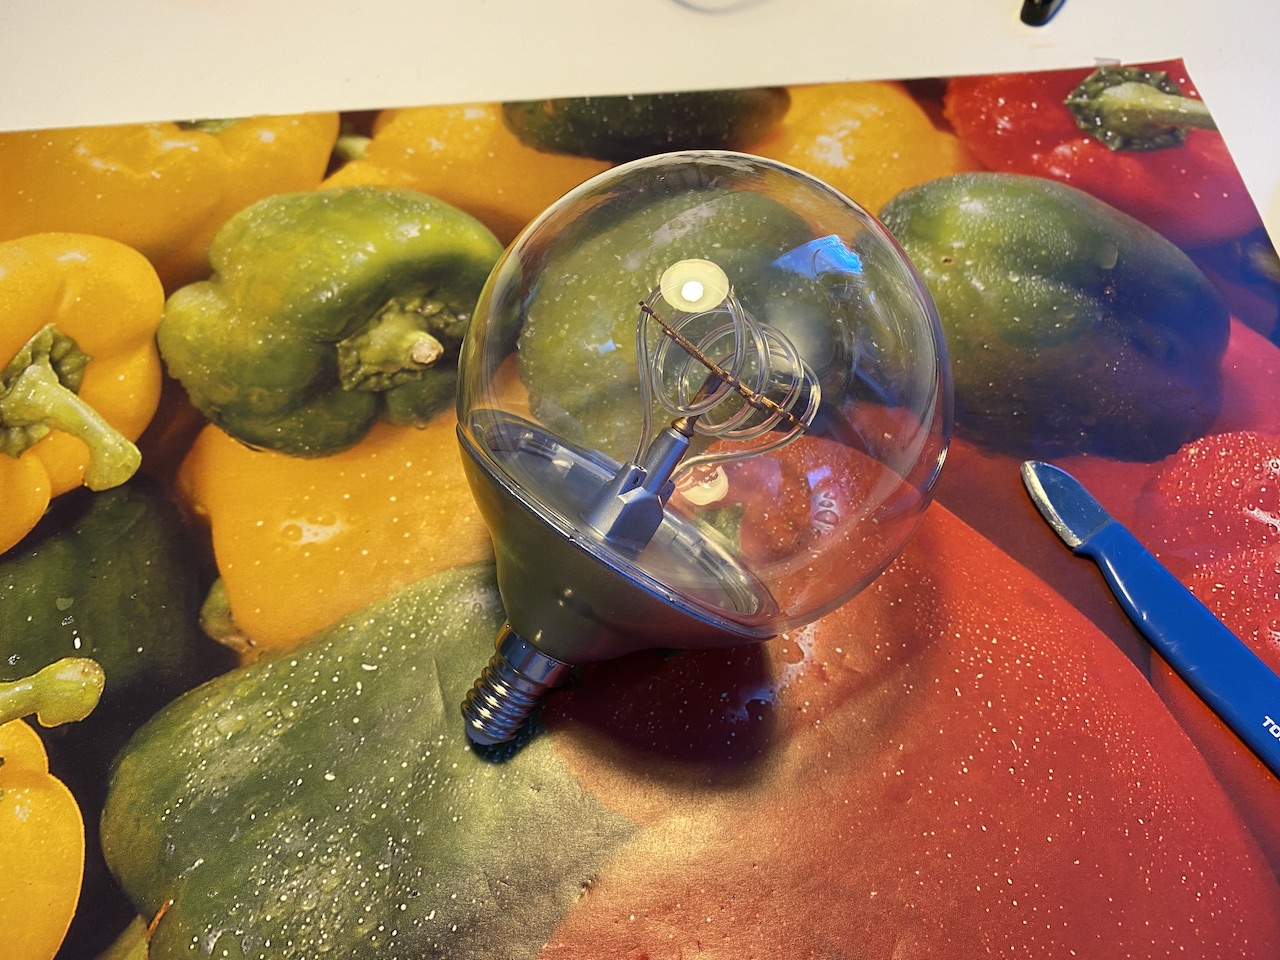 It all started out with a nice enough looking, but ultimately boring Ikea light.
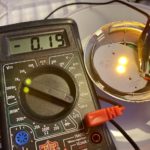
- The power supply delivers about 6.1 V with original LEDs
- The colour changing LEDs are rated 3-3.4 V each, so two in parallel should work fine.
- The original LEDs draw about 190 mA
- Two colour LEDs draw about 16 mA, so 10 should work fine with the power supply.
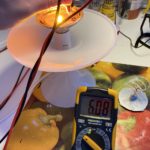
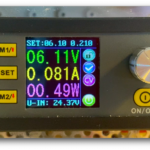
- At 6.1 V all LEDs draw up to about 81 mA
- On the Ikea power supply they draw about 180 mA. Turns out the power supply went up to 10.8 V
- After adding 110 Ohm resistance (100 + 10) Voltage goes up to about 6.8 V.
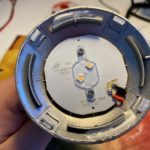
We start by removing the cover with a spudger
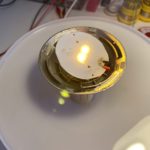
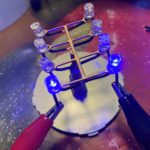
Here are the LEDs lit up.
The power supply delivers about 6.1 V with original LEDs
The colour changing LEDs are rated 3-3.4 V each, so two in parallel should work fine.
The original LEDs draw about 190 mA
Two colour LEDs draw about 16 mA, so 10 should work fine with the power supply.
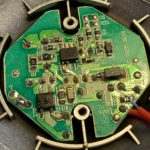
This is the upside of the power supply circuit board.
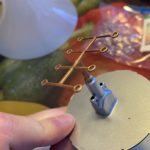
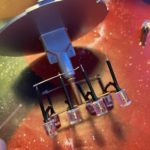
This is the fitting for the light guide I removed, which should be able to hold eight LEDs.
Heatshrink onto every leg.
Adding some diffusion by clipping of the lens.
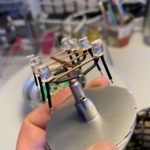
Fitst fit test.
I soldered the anodes and cathodes together.
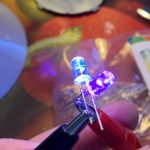
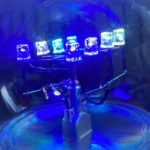
First test. All LEDs light up.
I added a simple power rail: resistor legs.
This works fine, too.
At 6.1 V all LEDs draw up to about 81 mA
On the Ikea power supply they draw about 180 mA. Turns out the power supply went up to 10.8 V
After adding 110 Ohm resistance (100 + 10) Voltage goes up to about 6.8 V.
Heatshrinked resistors
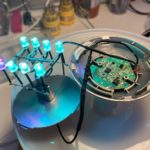
All works soldered to the power supply.
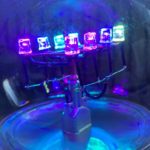
Looks good to me.
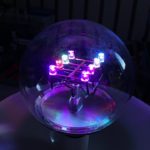
The LEDs quickly go out of sync, making for a nice effect.
Some more views of the light.
Some more views of the light.
Some more views of the light.
Some more views of the light.
The whole thing assembled.
The whole thing assembled.
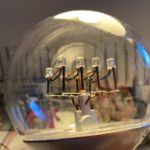
I really like the look of it even when it’s powered off.